How to Secure Your Home Wi-Fi Network
Learn how to protect your home Wi-Fi from hackers and unauthorized access

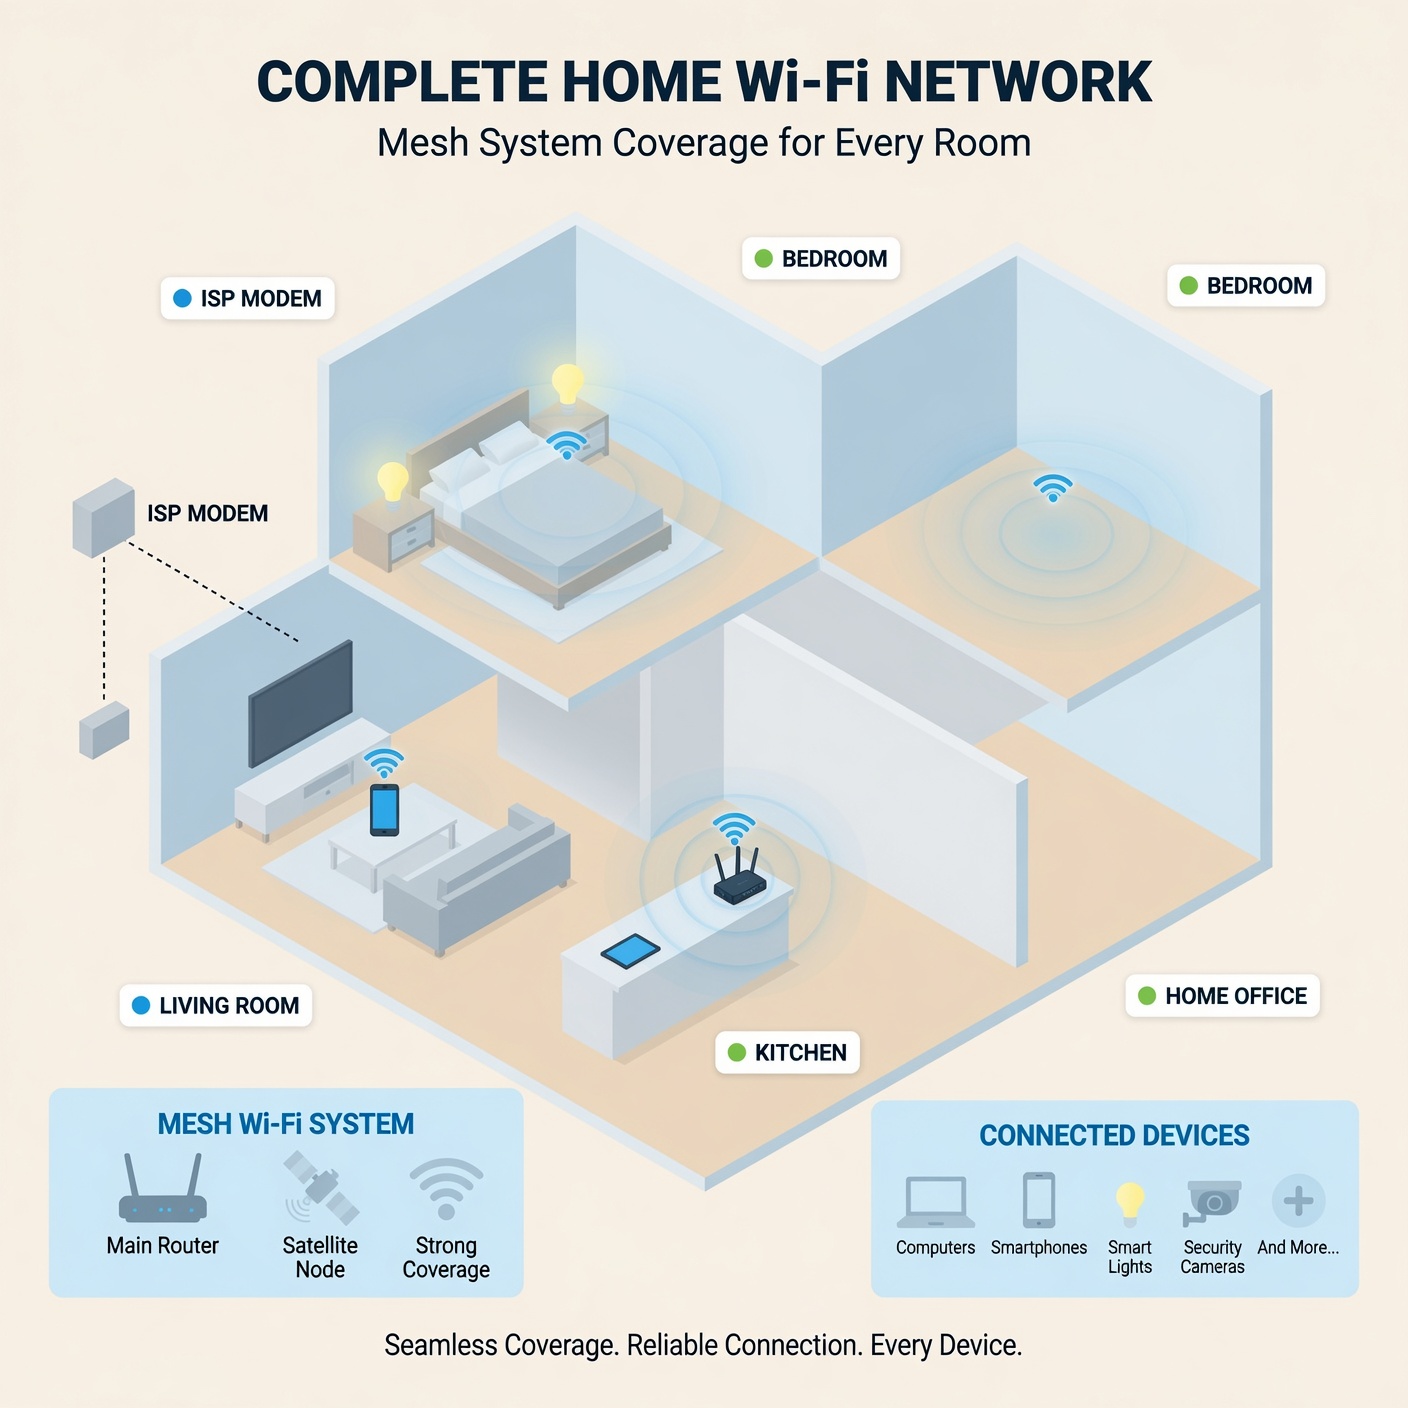
Your home Wi-Fi network is the invisible backbone of your digital life. From the smartphone in your hand to your smart TV, security cameras, laptops, and tablets, nearly every device in your household relies on your wireless router to connect to the internet.
Yet, for many people, the Wi-Fi network is the most vulnerable point in their digital security ecosystem. When you first plugged in your router, did you leave the default administrator password? Did you keep the standard network name? If so, your home network might be an open invitation for unwanted guests, bandwidth thieves, or cybercriminals looking to intercept your personal data.
Securing your Wi-Fi network doesn’t require a degree in computer science. With a few straightforward adjustments, you can transform your digital front door from an unlocked gate into an impenetrable fortress.
Understanding the Hidden Dangers of an Unsecured Home Network
Before diving into the setup process, it helps to understand why securing your home Wi-Fi matters so much. Many homeowners believe that because they don’t store top-secret government files on their home computers, nobody would want to hack their network. Unfortunately, cyber threats go far beyond targeted espionage.
When a home network is left unsecured, several risks emerge:
-
Bandwidth Theft: Neighbors or passersby can quietly log onto your network, streaming movies, downloading massive files, and slowing down your internet speed without your knowledge.
-
Data Interception: On an unsecured or poorly encrypted network, anyone within range can potentially sniff your internet traffic, capturing unencrypted passwords, personal messages, and browsing history.
-
Malware Distribution: If unauthorized users gain access to your network, they can use your connection to conduct illegal activities, leaving your IP address attached to malicious behavior.
-
Smart Home Compromise: Modern homes feature smart thermostats, connected doorbells, voice assistants, and smart locks. If a hacker breaches your Wi-Fi router, they gain a gateway to every connected smart device in your house, potentially compromising your physical safety and privacy.
Step 1: Change Your Router’s Default Administrator Credentials
Every wireless router comes out of the factory with a default username and password designed to let you set it up for the first time. Manufacturers like Netgear, TP-Link, ASUS, and Eero use standard credentials—such as admin for the username and password for the password—printed right on a sticker at the bottom of the device.
Because these factory defaults are publicly available online, the very first thing an attacker tries when targeting a router is entering these standard combinations.
How to Update Your Admin Login:
-
Connect to your home network via Wi-Fi or an Ethernet cable.
-
Open a web browser and type your router’s default gateway IP address (commonly
192.168.1.1or192.168.0.1, which can also be found on the physical router sticker) into the address bar. -
Log in using the current factory credentials.
-
Navigate to the Administration, Management, or System Settings tab.
-
Create a unique, strong administrator password. Store this password securely in a reputable password manager so you don’t lose it.
Step 2: Update Your Router’s Firmware Regularly
Just like your smartphone or laptop operating system, your router runs specialized software known as firmware. Manufacturers frequently release firmware updates to patch newly discovered security vulnerabilities, improve performance, and add protective features.
If you never update your router, you leave it exposed to known exploits that hackers actively scan for across the internet.
Best Practices for Firmware Updates:
-
Enable Automatic Updates: Many modern routers feature an option for automatic firmware updates. Check your router’s settings menu and toggle this option on.
-
Manual Checks: If your router doesn’t update automatically, make it a habit to log into the admin panel every three to six months to check for available updates.
-
Reboot Periodically: Restarting your router clears its temporary memory and helps apply background stability updates.
Step 3: Upgrade to WPA3 or WPA2 Encryption
Encryption is the digital armor that scrambles the data traveling between your devices and your router, ensuring that even if someone manages to intercept your Wi-Fi traffic, they see only gibberish instead of your personal information.
Over the years, wireless encryption standards have evolved:
-
WEP (Wired Equivalent Privacy): Highly obsolete and easily cracked in minutes. Never use this.
-
WPA (Wi-Fi Protected Access): Better than WEP, but also outdated.
-
WPA2: The long-standing industry standard that provides strong security for the vast majority of home networks.
-
WPA3: The newest and most secure encryption standard available, offering robust protection against brute-force password guessing attacks.
How to Configure Encryption:
-
Log into your router’s admin dashboard.
-
Locate the Wireless Settings or Wi-Fi Security section.
-
Set your security mode to WPA3-Personal (if your router and devices support it) or WPA2-AES (Advanced Encryption Standard). Avoid mixed modes like WPA/WPA2 if possible, as they can sometimes introduce compatibility loopholes.
Step 4: Create a Strong, Unique Wi-Fi Network Name (SSID)
Your Wi-Fi network name is called the SSID (Service Set Identifier). When you turn on your phone to look for a network, the names you see are SSIDs.
When naming your network, avoid default names like Netgear_Guest, Linksys_1234, or Default_Router. These defaults reveal the exact hardware model you are using, giving hackers a roadmap of potential vulnerabilities associated with that specific device model.
Furthermore, never include personal information in your SSID. Avoid using your last name, your home address, or your phone number (e.g., Smith_Family_123MainSt). This invites unnecessary local targeting and social engineering risks.
Tips for a Great SSID:
-
Keep it creative, anonymous, and neutral.
-
Ensure the password protecting that SSID is at least 12 to 16 characters long, combining uppercase letters, lowercase letters, numbers, and symbols.
-
Give your network a memorable passphrase that isn’t tied to your personal identity.
Step 5: Disable WPS (Wi-Fi Protected Setup)
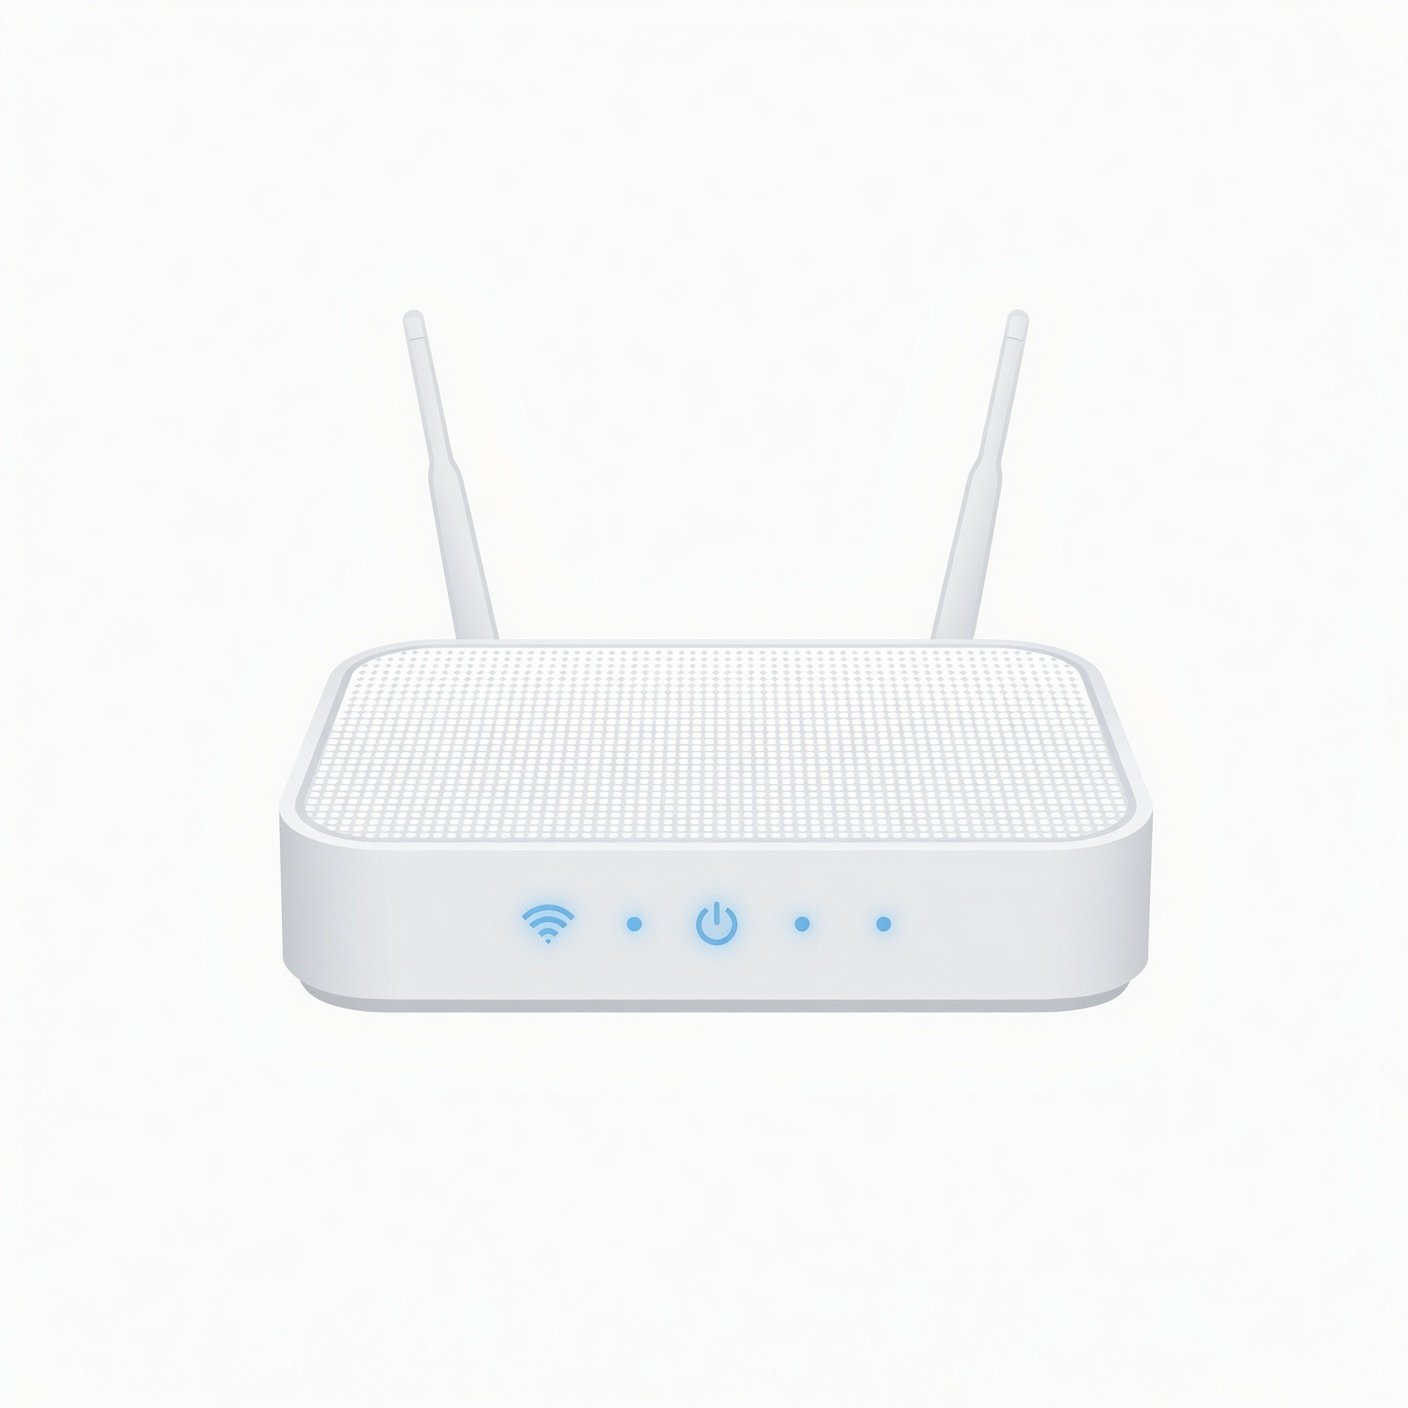
WPS was introduced years ago as a convenient feature meant to make connecting devices to your Wi-Fi easier. Instead of typing a long, complex password, users could simply press a physical button on the router or enter an 8-digit PIN to connect a printer, phone, or laptop.
However, security researchers discovered a critical design flaw in the WPS PIN mechanism. It allows attackers within range to brute-force the 8-digit PIN in a matter of hours, completely bypassing your main Wi-Fi password.
Action Plan:
-
Log into your router’s admin panel.
-
Locate the WPS (Wi-Fi Protected Setup) section.
-
Turn WPS OFF entirely. Rely instead on standard, secure password entry for all new device connections.
Step 6: Set Up a Separate Guest Wi-Fi Network
These days, inviting friends, family members, or delivery personnel into your home often comes with the inevitable question: “Hey, what’s your Wi-Fi password?”
Handing out your primary Wi-Fi password gives guests full access to everything on your network—including your personal computers, Network Attached Storage (NAS) drives, and sensitive local file shares. If a guest’s smartphone happens to be infected with malware, that malware instantly gains a bridge onto your private network.
The Solution:
Modern routers allow you to create a Guest Network.
-
Isolation: A guest network operates on a completely separate virtual lane from your main network. Visitors can access the internet, but they cannot see or communicate with any devices connected to your primary home network.
-
Temporary Passwords: You can assign a simple password to your guest network and change it whenever you want without disrupting your household’s permanent device connections.
Step 7: Isolate Your Smart Home Devices (IoT Network)
Smart home technology has transformed modern living. From smart lightbulbs and robotic vacuums to internet-connected refrigerators and security cameras, dozens of smart gadgets now populate the average household.
However, Internet of Things (IoT) devices are notoriously vulnerable. Many manufacturers prioritize low production costs and ease of use over rigorous cybersecurity, leaving smart devices prone to software flaws. If a hacker compromises an insecure smart bulb or a cheap security camera, they can use that device as a pivot point to enter the rest of your network.
Advanced Segmentation Strategy:
If your router supports advanced features or custom firmware (such as VLANs or guest isolation zones):
-
Create a dedicated secondary network specifically for smart home gadgets.
-
Keep your primary network strictly for trusted, high-value devices like work laptops, personal smartphones, and main computers.
-
Keep your guest network for visitors.
This three-tier separation ensures that if an IoT device is ever compromised, the breach is contained entirely within that isolated sandbox network.
Step 8: Change or Disable Remote Management
By default, some routers allow administrators to log into the router’s control panel not just from inside the home, but from anywhere on the internet. While this sounds convenient if you need to troubleshoot your network while traveling, it opens a massive security hole. If left enabled, hackers anywhere in the world can attempt to brute-force their way into your router’s login page.
Best Practice:
-
Log into your router admin panel.
-
Find the Remote Management or Remote Administration setting.
-
Ensure this feature is disabled. You should only be able to manage your router when physically connected to your home network or via the manufacturer’s trusted mobile app over encrypted local channels.
Step 9: Consider Changing Your DNS Servers
When you type a website address into your browser, your device relies on a DNS (Domain Name System) server to translate that human-readable name into a machine-readable IP address.
By default, your internet service provider (ISP) assigns you their own DNS servers. However, ISP DNS servers can sometimes be slow, prone to logging your browsing history, or vulnerable to redirection attacks.
Switching to a secure, privacy-focused third-party DNS provider can speed up your connection and add an extra layer of security by blocking malicious websites at the DNS level.
Popular Secure DNS Providers:
-
Cloudflare:
1.1.1.1and1.0.0.1(Known for blazing speed and strict privacy commitments, never logging your IP address). -
Google Public DNS:
8.8.8.8and8.8.4.4(Reliable and fast). -
Quad9:
9..9.9.9(Actively blocks known malicious domains and phishing sites).
You can configure these DNS addresses either directly on your individual devices or globally inside your router’s WAN settings so that every device on your network benefits automatically.
Step 10: Turn Off Universal Plug and Play (UPnP)

UPnP (Universal Plug and Play) is a protocol that allows local network devices to seamlessly discover each other and automatically open ports on your router without requiring manual configuration. For example, if you plug in a gaming console or a media server, UPnP lets it configure the router firewall instantly so you can play online or stream media.
While convenient, UPnP has a dark side. Malicious software running on a compromised computer or smartphone can exploit UPnP to secretly open inbound ports on your router, creating backdoor access for external attackers.
Recommendation:
-
Unless you have a specific, pressing need for UPnP (such as certain multiplayer gaming setups that struggle with strict NAT types), it is safest to log into your router settings and turn UPnP OFF.
Summary Checklist for Total Home Wi-Fi Security
Securing your home network is an ongoing habit rather than a one-time chore. Use this quick checklist to review your setup today:
-
[ ] Changed default router username and administrator password.
-
[ ] Enabled automatic firmware updates (or checked for manual updates).
-
[ ] Upgraded wireless encryption to WPA3 or WPA2-AES.
-
[ ] Created a unique, non-identifying Wi-Fi network name (SSID).
-
[ ] Set a strong, complex Wi-Fi password (12+ characters).
-
[ ] Disabled WPS (Wi-Fi Protected Setup).
-
[ ] Set up a separate Guest Wi-Fi network for visitors.
-
[ ] Isolated smart home (IoT) devices where possible.
-
[ ] Disabled Remote Management.
-
[ ] Switched to a secure, private DNS provider.
-
[ ] Turned off UPnP.
By following these practical, step-by-step measures, you will significantly harden your digital perimeter, protect your personal data, and ensure a fast, private, and secure online experience for everyone in your household.