How to Check If a USB Flash Drive Is Safe
Discover the warning signs that a USB drive may contain malware or other security threats
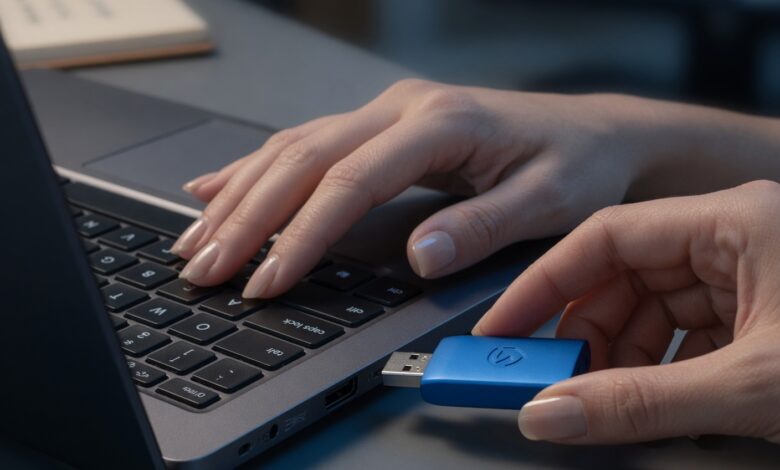
We have all found a random USB flash drive at some point. Maybe it was lying on the sidewalk, left behind on a coffee shop table, or tucked away in an old drawer at home. Alternatively, perhaps a coworker handed you a thumb drive to share a few important presentation files.
Because USB drives are so common, it is easy to forget that they are highly powerful devices. The moment you plug an unknown flash drive into your computer, you are giving a physical object direct access to your system’s core architecture. If that drive contains malicious programming, the damage can happen in less than a second.
This comprehensive guide will teach you exactly how to check if a USB flash drive is safe. You will learn how to identify physical warning signs, use advanced software isolation techniques like sandboxing, and protect your digital life from Hidden USB malware.
Why Connecting an Unknown USB Drive Is a Massive Security Risk
Before exploring the verification steps, we must understand why cybersecurity experts view untrusted USB drives as digital toxic waste. The threat is not just a simple virus file hidden among your photos; modern USB attacks are incredibly sophisticated.
The Psychology of the “Lost USB” Attack
Hackers frequently use a social engineering tactic known as USB dropping. A criminal intentionally leaves malware-loaded flash drives in high-traffic areas, such as corporate parking lots, university campuses, or public parks.
Human curiosity is incredibly strong. When someone finds the drive, their first instinct is usually to plug it into a computer to see who owns it or what is inside. The moment they do, the hacker gains entry into that computer, and potentially the entire corporate network connected to it.
Beyond Malware: The Three Types of USB Threats
When you connect an unverified thumb drive to your PC or laptop, you are exposing yourself to three primary categories of security risks:
-
Software Malware: The drive contains hidden executable files, trojans, ransomware, or keyloggers. If your computer has autorun features enabled, this malware can execute the millisecond the drive makes electrical contact.
-
BadUSB / HID Spoofing: This is a hardware-level threat. The microcontroller inside the flash drive is reprogrammed to spoof a Human Interface Device (HID), like a USB keyboard. Once plugged in, the computer believes you have connected a new keyboard. The drive then injects pre-programmed, lightning-fast keystrokes to open your command terminal, download malicious software from the internet, and compromise your system without triggering traditional antivirus software.
-
USB Killers: This is a purely physical attack designed to permanently destroy your hardware. A USB Killer contains a bank of capacitors. When plugged in, it draws power from the computer’s USB port, stores it, and then instantly fires a massive high-voltage electrical surge (often over $200\text{ V}$) back into the data lines. This instantly fries the motherboard, processor, and data storage components of your machine.
Step 1: Conduct a Thorough Physical Inspection of the USB Drive
Your first line of defense requires zero software. Before you even think about putting a flash drive near your computer’s USB ports, you need to analyze its physical appearance.
[Physical Inspection Checklist]
 ├── Check for strange branding or missing logos
 ├── Inspect the metal connector for modifications
 ├── Look for physical reset buttons or unusual pinholes
 └── Feel for excessive weight or a modified casing
Look for Signs of Tampering or Modifications
Inspect the outer plastic or metal casing of the thumb drive. Does it look like it was forced open and glued back together? Are there unusual scratches around the seams? Hackers often open standard commercial flash drives to replace the safe internal memory chip with malicious hardware microcontrollers or electrical capacitors designed to destroy computers.
Evaluate Branding and Manufacturing Quality
Legitimate USB drives usually feature crisp, high-quality printed logos from trusted manufacturers (such as SanDisk, Kingston, Samsung, or PNY). Be highly suspicious of drives that:
-
Have no labels, storage capacity markings, or branding whatsoever.
-
Feature cheaply printed logos that smudge off easily.
-
Look like cheap promotional items given away at random conferences.
Inspect the Metal Connector and Pins
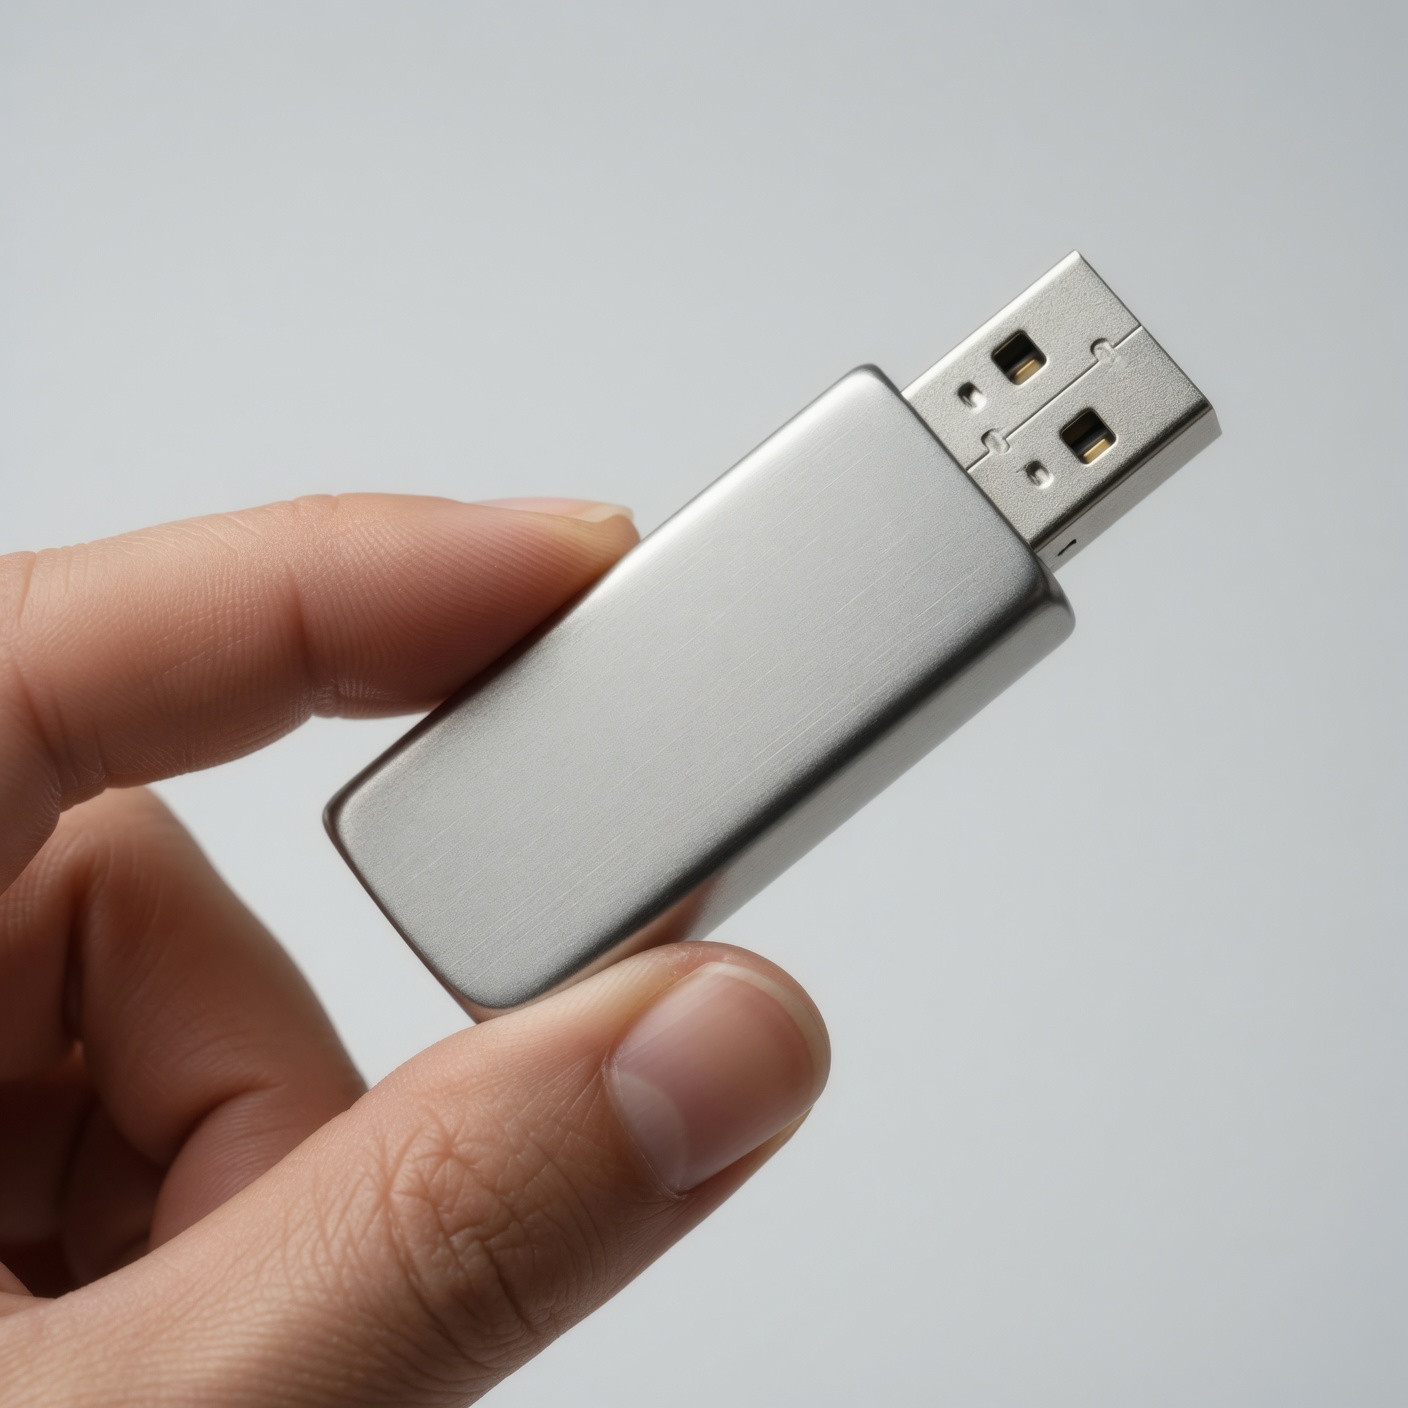
Look inside the rectangular metal USB connector. Standard USB 2.0 or USB 3.0 pins should look clean, uniform, and straight. If you notice strange copper wiring, additional microchips sticking out, or any physical modifications to the interface port, do not plug the drive into any device you care about.
Step 2: Disable Autorun and Autoplay in Your Operating System
If the USB drive passes your physical inspection and you absolutely must see what is inside, you have to prepare your operating system. By default, many operating systems are configured to automatically open files or run media programs the moment a external storage device is detected. You must turn this off completely.
How to Disable Autoplay in Windows 11 and Windows 10
Windows has historically been the primary target for USB-delivered malware due to its “Autorun” heritage. To block automatic execution:
-
Click on the Start Menu and open Settings (or press
Win + I). -
Navigate to Bluetooth & devices on the left menu.
-
Scroll down on the right side and click on AutoPlay.
-
Toggle the switch for Use AutoPlay for all media and devices to Off.
-
Alternatively, change the dropdown menus for both “Removable drive” and “Memory card” to Take no action.
How to Prevent Automatic Mounting on macOS
While macOS does not run executable files the same way Windows does, it still mounts external drives instantly. If you want maximum safety on a Mac, you can configure your system to prevent automatic volume mounting via terminal configurations, forcing the system to ignore new USB devices until you explicitly tell it to mount through the Disk Utility app.
Step 3: Use a Dedicated USB Isolation Environment (Sandboxing)
Even with Autoplay disabled, opening a dangerous flash drive inside your main operating system can expose your personal files, browser passwords, and system registry to threats. To avoid this, you should inspect the drive inside an isolated sandbox environment.
What Is a Sandbox?
A sandbox is an isolated, virtual environment that mimics a complete computer system. Think of it as a digital laboratory safety hood. Anything that happens inside the sandbox stays inside the sandbox. If a USB drive executes a piece of ransomware inside a virtual environment, it will destroy the fake virtual operating system, while leaving your actual computer perfectly safe.
Utilizing Windows Sandbox for Safe Inspection
Windows Professional, Enterprise, and Education editions come with a brilliant, built-in tool called Windows Sandbox. It generates a lightweight, pristine desktop environment that disappears completely the moment you close the application.
To use Windows Sandbox to check a flash drive:
-
Search for Turn Windows features on or off in your Windows search bar.
-
Scroll down, check the box next to Windows Sandbox, click OK, and restart your computer.
-
Open Windows Sandbox from your Start menu.
-
Plug your suspicious USB drive into your physical computer.
-
In your main OS, go to “This PC”, right-click the USB drive, and select Copy (do not open it!).
-
Paste the drive icon or its contents directly inside the Windows Sandbox window.
-
You can now open, scan, and inspect the files safely. Once you close the Windows Sandbox window, everything inside is permanently erased.
Running a Dedicated Virtual Machine (VM)
If you do not have Windows Pro, you can download open-source virtualization software like Oracle VirtualBox or VMware Workstation Player.
-
Install a guest operating system (like a secure distribution of Linux, such as Ubuntu) inside your virtual machine.
-
Configure your virtualization settings so that USB devices are automatically redirected to the Virtual Machine rather than the host system.
-
Plug in the USB drive. The Virtual Machine will capture the connection, ensuring that any malicious scripts or file triggers execute exclusively within the isolated Linux environment.
Step 4: Scan the Flash Drive with Advanced Antivirus Software

Once the drive is connected and you are operating within a safe or controlled state, your next task is to perform a thorough programmatic scan. Do not rely on quick scans; you need a deep, exhaustive analysis.
Running a Targeted Scan with Windows Defender
Windows Defender is a highly capable security tool that can scan specific external directories on command.
-
Open This PC or File Explorer.
-
Locate the icon representing your connected USB flash drive.
-
Right-click the drive icon.
-
Select Scan with Microsoft Defender… (On Windows 11, you may need to click “Show more options” first).
-
Choose Custom Scan or allow Defender to automatically run a full threat analysis on the removable drive directory.
Employing Second-Opinion Malware Scanners
Sometimes, a single antivirus engine might miss zero-day malware or specific trojans. It is always wise to use an independent scanner to double-check the storage medium.
Excellent secondary scanners include Malwarebytes and Emsisoft Emergency Kit. Download these tools, ensure their database definitions are fully updated, and direct them to scan the specific drive letter assigned to your flash memory card.
| Security Tool | Primary Protection Benefit | Best Used For |
| Windows Defender | Native system security ecosystem | Initial automated scanning |
| Malwarebytes | Heuristic analysis for zero-day threats | Catching hidden trojans and adware |
| Emsisoft Emergency Kit | Portable engine requiring no installation | Deep scanning on clean/isolated systems |
| VirusTotal | Aggregated cloud engines (over 70 scanners) | Inspecting specific suspicious files |
Step 5: Identify and Analyze Hidden Extensions and Fake Files
Hackers are masters of disguise. They know that most users look at file icons rather than file properties. A file that looks like a harmless PDF invoice could actually be a malicious application designed to install a backdoor on your device.
Show Hidden Files and File Extensions
By default, Windows hides file extensions for known file types. This means a file named Invoice.pdf.exe will appear on your screen simply as Invoice.pdf. To unmask this threat:
-
On Windows 11: Open File Explorer, click on View in the top toolbar, hover over Show, and make sure File name extensions and Hidden items are checked.
-
On Windows 10: Open File Explorer, click the View tab at the top, and check the boxes for File name extensions and Hidden items.
Watch Out for the Double Extension Trick
With file extensions visible, carefully review everything on the flash drive. Look out for files ending in .exe, .vbs, .scr, .bat, or .cmd. If a folder contains a file named VacationPhotos.jpg.exe, that is absolute proof of a malicious file attempting to trick you into executing a dangerous script.
Spotting Fake Folder Shortcuts
A common type of USB malware converts all your legitimate folders into hidden system folders. It then creates fake shortcut icons with the exact same names as your folders. When you double-click the “Folder” shortcut, it runs a script that executes malware in the background while simultaneously opening your actual folder to avoid raising suspicion.
If you see an arrow overlay icon on what should be a standard folder, or if the file type reads Shortcut instead of File folder, do not click it.
Step 6: Use Command Prompt or Terminal for Safe File Auditing
If you want to view what is truly inside a USB flash drive without relying on visual file explorers that might accidentally trigger hidden shortcuts, the command line interface is your best tool. Operating system shells do not automatically execute graphical links or hidden system behaviors.
Inspecting USB Directories via Windows Command Prompt
-
Press
Win + R, typecmd, and hit Enter to open the Command Prompt. -
Determine your USB drive letter by looking at File Explorer (e.g., Drive
F:). -
Type the drive letter followed by a colon into cmd and press Enter (e.g.,
F:). -
Type the following specialized security command and press Enter:
DOS
dir /a /s-
The
/aflag instructs the command prompt to display all files, including hidden system files that standard Windows Explorer hides from view. -
The
/sflag forces it to show files hidden deep within subdirectories.
-
Review the output printout carefully. If you see files like autorun.inf, desktop.ini, or unknown binaries that you did not expect, the drive has likely been compromised or used in automated system deployment.
Step 7: How to Safely Clean a Confirmed Malicious USB Drive
If your scans uncover a threat, or if you suspect a drive is dangerous but still want to use the physical device for your own storage needs, you must wipe it completely. Merely deleting the visible files or hitting the delete key does not remove deep partition blocks or hidden boot sectors.
Performing a Low-Level Clean Using Windows Diskpart
To completely clear everything—including malicious partition tables and hidden system sectors—use the native command-line utility called Diskpart.
Warning: Be extremely careful when using Diskpart. Selecting the wrong disk number can permanently erase your computer’s main hard drive. Double-check your disk sizes before proceeding.
-
Right-click the Start Menu button and select Terminal (Admin) or Command Prompt (Admin).
-
Type
diskpartand press Enter. -
Type
list diskand press Enter. Look closely at the list and identify your USB drive by its storage size (for instance, a 16GB drive will show up as roughly 14GB to 15GB. -
Type
select disk X(replaceXwith your specific USB drive number) and press Enter. -
Type
cleanand hit Enter. This completely erases all partition data, master boot records, and formatting signatures from the drive. -
Type
create partition primaryto build a clean partition framework. -
Type
format fs=ntfs quick(orfs=fat32if you plan to use it across different devices like Macs and TVs) to apply a fresh file architecture. -
Type
assignto give the drive a clean letter identifier, then typeexitto close the utility.
[Diskpart Safety Sequence]
 LIST DISK ──> IDENTIFY SIZE ──> SELECT DISK ──> CLEAN ──> FORMAT
Advanced Hardware Safety: The USB Data Blocker
If you must plug a suspicious USB drive into your phone or laptop purely to charge your device or check something under strict hardware limits, consider investing in a USB Data Blocker (often called a “USB Condom”).
A USB data blocker is a small hardware adapter that sits between your computer’s port and the external USB cable or drive. Physically, this adapter cuts off the data transfer pins inside the connection while leaving only the power transfer lines intact.
Because the physical data wires are completely missing inside the adapter, it is physically impossible for a BadUSB script to type malicious commands, and completely impossible for malware files to migrate to your machine. It provides an unbreachable hardware wall between devices.
Best Practices for Absolute USB Security

Maintaining exceptional digital hygiene means building daily habits around how you manage physical media storage hardware. Implement these rules across your home and workplace to ensure your systems remain secure:
-
Never use promotional USB drives: Companies give away free thumb drives at events, job fairs, and trade shows. You have no way of knowing where those drives were manufactured or if someone modified their internal components before distribution.
-
Keep your hardware separate: Maintain a strict separation between your personal storage drives and work-related hardware assets. Never plug a drive provided by an employer into an unmonitored public computer system.
-
Label your drives: Use physical stickers, colored tape, or markers to label your verified, trusted USB drives. If you find an unlabeled, mysterious drive lying around your desk or backpack, treat it as dangerous until verified through the sandbox isolation processes outlined above.
-
Encrypt your storage drives: Use tools like BitLocker on Windows or FileVault on macOS to encrypt your storage assets. If you accidentally lose a flash drive, encryption ensures that unauthorized finders cannot read your private documentation or install malicious file packages onto the storage structure.
By treating physical storage media with the same caution you apply to suspicious emails and strange web links, you can confidently protect your computers from hidden physical security threats. Stay safe, scan every device, and when in doubt, wipe the drive clean!